How to Test a Motherboard Without CPU and RAM
No doubt that the motherboard plays an essential role in any computer, and it being one of the main components can risk the entire the pc if it’s not fixed or found fault at the right time. One of the most common questions people tend to ask is if they can understand How to Test a Motherboard without CPU
The motherboard functions as a circuit board that links all of your hardware to your CPU delivers power from your power supply and defines the sorts of storage devices, memory modules, and graphics cards (among other expansion cards) that can connect to your PC. Hence the motherboard is basically responsible to manage all the subsystems of the computer and supplying power to the parts that need it and if you install an SSD , it can deliver your computer performance to another level.
Yes, there is no doubt that you can do motherboard testing without the CPU being present, but this act comes with certain limitations and requires certain functionalities to be available and present.
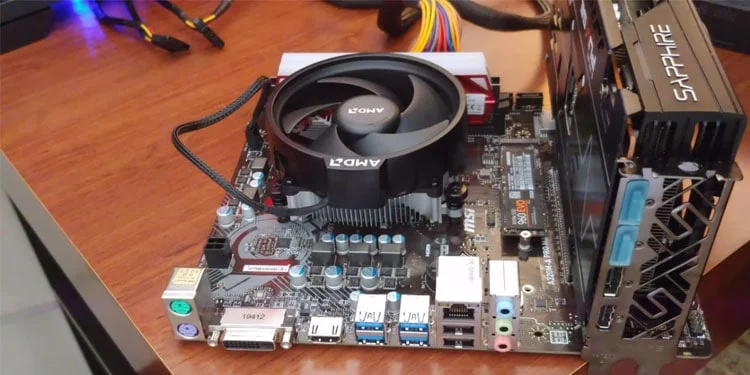
Testing motherboard without CPU
If you’re looking to buy a prebuilt PC that has previously been tested, we’d say go for it. These motherboards come with special built-in functionality helping you test them without a CPU. The POST is one of them (Power-On Self-Test). Using LED lights, you may view the inside components of your motherboard during this test. This option is only accessible on high-end motherboards. It was not previously available in earlier editions.
However, if you are looking for high-end motherboards compatible with Core i9 10850k , you must check out our article.
Firstly when you turn on your PC, the cooling fans will be present there spinning, which signifies that everything has been running smoothly up to this point. However, you don’t know if your PC will still work once you install the CPU.
Next, if your motherboard consists of internal speakers, it will indicate with a beeping sound that the CPU is not detected in the motherboard, which signifies that your motherboard is in great functioning order and that you are ready to install your processor.
The sound of a motherboard can vary substantially based on the brand and model. When there are no critical components installed, such as RAM or a CPU, some motherboards will not chime, while others will. Don’t be concerned if your motherboard lacks built-in speakers.
Another way to test the motherboard is a little complex as it requires a bit of technical brain, buts let’s see how it goes about. For this method first, you will need a multimeter to see if your motherboard works in the absence of a CPU. Next, this method asks you to inspect each capacitor and circuit on your motherboard.
Limitations to turning on the motherboard without a case
As mentioned above as well, the function of testing a motherboard without a CPU is easier in high-end motherboards, even though there are certain limitations and you cannot check everything in detail example the audio, video, overclocking, etc.
Since the motherboard lacks an inbuilt graphics processing unit you won’t be able to see anything on the screen, if you have a dedicated GPU placed in a PCIe slot, it will not function without the CPU.
How to check the motherboard is alive?
Before installing the CPU, most desktop PC builders and gamers run the Pre-build bench test. Which is named as a “pre-build bench test.”
Checking your computer’s motherboard without a CPU is not recommended since it will ultimately cause your entire system or a component to fail. However, in the gaming community, you are quite unlikely to burn out your motherboard.
In most cases, you’ll hear constant beeps to signal that the hardware, such as RAM or a CPU, is failing. Your motherboard can also fail if its not compatible processor, so if you are looking for best motherboards for Intel i9 12900k, you must check out our article.
How to check for faults in the motherboard without a CPU?
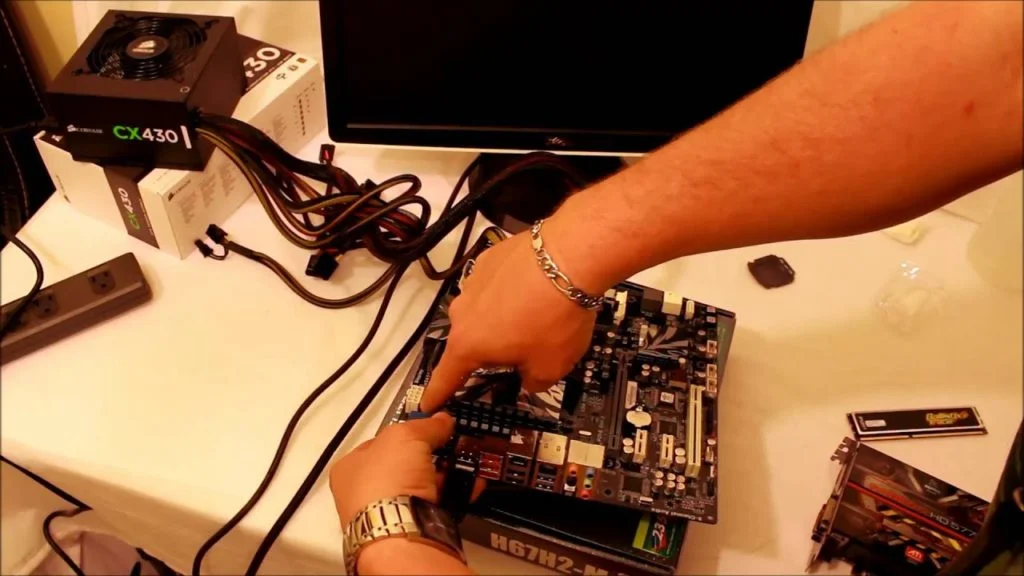
- Firstly you have to unbox for bench testing. Bench testing is used to calculate and analyze the PC components outside of the case. For this firstly you will unpack your computer. Make sure to not keep it on any metallic surface. You can place it on the cardboard It came with or anti-static bag
- Next, you will have to plugin the power connectors, for that remember that there are 2 power cables, 8 Pin for the CPU power connector on the motherboard, and 2 4 Pin for the motherboard power connector. The arrangement of your motherboard may vary, however, this is the approximate placement of the motherboard and CPU power ports.
- If you wish to increase the functionality of your computer you can install other components like RAM, hard disk, and graphic card. however, it is a complete option and they are not much of a use
- Now you have to connect the Power supply unit to the wall socket. Ensure that the power supply unit is also put on a non-conductive surface and that you are grounded.. It is also advisable to wear plastic slippers/shoes and non-conductive electric gloves.
- Now you will finally turn on your motherboard.
- If the motherboard is INSIDE the casing, this is what you need to do. Turning on an in-built motherboard is straightforward. On your motherboard, locate the Power Switch pins. These are frequently found on the Front Panel Header. Once you’ve found the Power Switch Pin, just attach the Power Switch Cable from your Case to these Pins. You may need to examine your motherboard’s documentation to understand where the Power on Switch pins are located. If you have everything, link the components together. Insert the AC adapter into an open USB port on your computer or laptop, then use a USB cable to connect it to the Case’s power supply. Then, on the Case, push the ON button to turn it on.
- If your motherboard is OUTSIDE the casing, this is what you need to do. Firstly you will remove it. In some latest computers, you will find the option to do it with the power on button, however, the old ones require individuals to do it manually. Since there are 2 ways to do it. The first way is just the above where you Use the case’s Power On switch cables. Place your CPU Case near towards the motherboard just so the POWER ON SWITCH wires from the Case may touch the connectors on the Front Panel Header of the motherboard Place your CPU Case near towards motherboard just so the POWER ON SWITCH wires from the Case may touch the connectors on the Front Panel Header of the motherboard. Next, easily push your case’s power-on the button as you typically do. The second method, which is manually done will require you a screwdriver, simply take the screwdriver and make contact with the two Power Switch pins on the Front Panel Header. However, be very conscious that the screwdriver doesn’t touch any other pins.
conclusion: How to Test a Motherboard Without CPU
This article talked in-depth regarding How to Test a Motherboard without a CPU, which is one of the steps for PC builders who want to make sure of their components before making the installation. You may rapidly test a motherboard without a CPU and obtain a variety of signals if it is functional. However, while the PC may be turned on without the CPU, it cannot be booted; hence, no processes can be carried out without it. The CPU and the motherboard are generally in such close proximity that if one fails to operate or has some damage, it will impose harm on the other and may also cease to work.
Related Links:

About Author
Jacob Smith
I am a copywriter specialized in Tech & electronic products. I enjoy analyzing articles focused on PC, Motherboards, Graphics cards, and much more. Previously, I was a contributor to Blogs Hour. In short, my greatest passion is to write about PC and how we can build pc in an easy way, but I have other hobbies such as cinema, geography, sports, and talking with my friends.