How To Remove Graphics Card from PC
In today’s article, we will learn How to remove the graphics cards from a PC. Multiple names but one use graphic card can also be called graphic adaptors, GA card/VGA, video adapter, or display adapter or a video card works as an expansion card which is used to create a flow of outgoing pictures to the computer display.
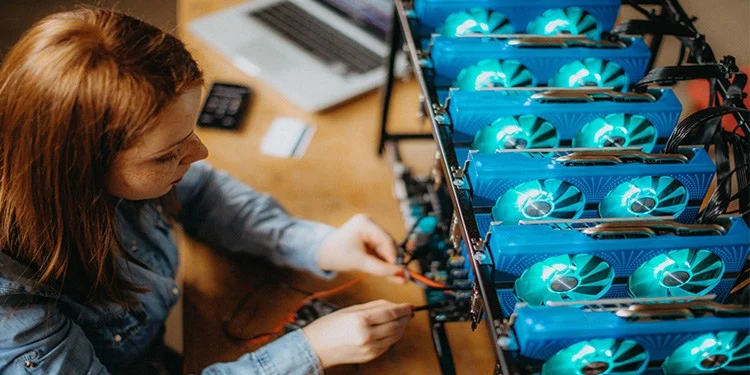
Mainly the card is placed on the motherboard of the PC, or an individual circuit board. Although it is occasionally incorporated into the computer display unit. The installation of a graphic card helps with gaming, ray tracing, graphics creation, and even cryptocurrency mining hence increasing the efficiency of a GPU making it high-end, while you are at it you must check out our article helping you find the best graphics card for ryzen 7 3700x. Graphics cards come in a variety of forms and sizes; some are excessively big, while others are very little and small. However, just about all of the cards link to your motherboard and operate your gaming system using the PCIe standard.
It might look like an easy process but it requires extra precaution and care. So whether you want to upgrade from an old graphic card chip to a new one or just want to get it out for cleaning, this is just the article for you.
Preparation
If you’re not only cleaning your graphic chip, it’s a good idea to think about what you’ll replace it with. Before you remove your present card from your motherboard, make a solid decision on what you will replace it with. Many aspects go into making this decision, such as the TDP of a chipset vs what your electricity supply can take, the features that come with the GPU, the aesthetics and cooling, and, of course, the sheer power and whether or not you need it. This is a personal choice that should be left to you.
Next in the preparation process is to Uninstall the prior graphics card’s driver fully is very important. You may either remove the drivers manually or use software to do it for you. To manually remove the drivers, click the ‘Windows icon (on your keyboard) + R’ keys at the same time. The ‘Run box’ will be shown. Then, type ‘devmgmt. msc’ and hit ‘Okay.’ Then, on the list that opens, choose your graphics card driver and select ‘Uninstall.’
Or you can do it through any software for the uninstallation, they are proven to be very simple and efficient, as it will remove the graphic card from the pc completely not leaving as residue, if you don’t know how to use any software, you can also use YouTube or google for it.
Now you need to make sure that all the connections are out, any power source or energy is not in touch with your PC. This means to get rid of any static electricity which is precisely the accumulation of electric charges on the surface of things. If static is not dealt with properly, it has the potential to “fry” your computer’s components. To ensure that any lingering static is discharged, turn off your power source first. Then, for a few seconds, press and hold the power button on the PC to ensure that you have eliminated any remaining power in the PC. Finally, unplug all of your PC’s components.
Getting started
In order to start with the removal of the graphic card from the PC, you should wear an anti-static wristband. Before you do anything, I strongly advise you to wear an “anti-static bracelet,” that will properly balance you to prevent any possible harm to the computer’s components, even though everything is switched down. You may accumulate a lot of static electricity in your body and eventually, you can come in touch with some other component that still has electricity within. It can produce a short circuit, very possibly burning your GPU in the operation, so please ground yourself properly.
The next step is to open the pc casing. Be careful to switch off your computer and unhook all of its wires. Every PC case has a side panel that comes off to display the insides of the computer; there is no standard for how this side panel is attached to the case since it is entirely up to the case builder. It might be kept in place by screws or just metal or plastic clamps that can be released by pushing a button; as I previously stated, there are no standards. After you’ve removed the side panel, store it somewhere safe because it’s time to dig into the graphic card.
How to take out a graphics card
In hardly 4 steps you would be able to get your graphic card out of your pc. From unplugging the power cables to unscrewing the graphic and then taking it out and then finally storing it safely in an anti-static bag.
- Step 1: Firstly you need to make sure that all the power cables are disconnected from the pc. You will need to disconnect any cords that link your GPU to your power source. Push the tiny plastic clamp on the connection tips of the power wires and gently pull the connector out. Tuck the cords to one side so they don’t get in the way of your job.
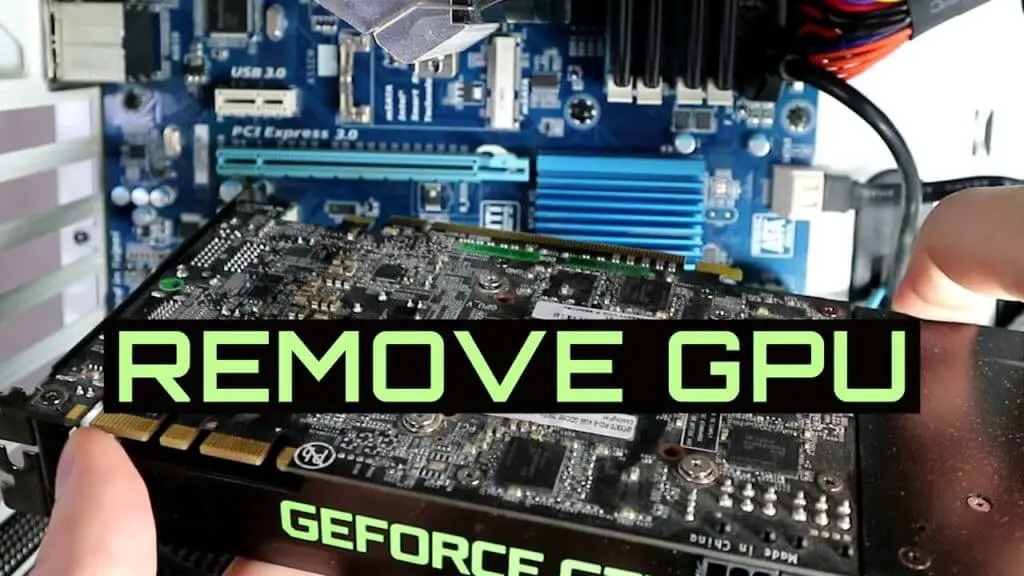
- Step 2: now you need to find where your graphic card resides, the graphics card is often installed in the motherboard’s PCI slot towards the bottom of the device, next to the CPU. Most video cards are screwed into position on the case’s side to avoid drooping, since they may become bothersome. Typically, the GPU is attached to the PCIe bracket with a single screw (or up to 3). Remove it from the casing with the required screwdriver, and you’re good to go. But don’t just send it out; there’s one more step you need to take before.
- Step 3: A little locking mechanism will be visible somewhere to the right of where your video card is plugged in; it might be a simple tab, switch, slider, or button. That tab’s function is to secure the GPU to the PCIe slot. Locate the tab and either press it, slide it, or pull it out, depending on the manufacturer of your motherboard, and you will hear an audible click, signaling that it is free from the PCIe slot and ready to be taken out. If you are unable to access the tab with your hands, the simplest method to follow is to use a long plastic item, such as a pen, to push it down. Remember not to rip it out, but rather to draw it out slowly. Tearing the card out might result in serious harm to the motherboard’s PCI slot and also irreversible harm to the graphics card.
- Step 4: Finally, everything is in place, and the only work that remains is to remove the graphics unit from the motherboard. Grab it with one hand from the center of the side, avoiding any exposed PCB. And slowly pull it out, being careful not to smash it against your case while doing so. Congratulations, your GPU has been successfully uninstalled.
Where to store your graphic card
Finally, once the graphic card is out you need to keep it in a box or something, the graphic card can’t be outside it needs to be kept somewhere safe. Hence it is important to preserve it to sustain its lifespan and extend it. So either you can keep it in the original box that the card arrived in, take it out and properly clean it. Obtain an anti-static bag, place your device inside it, seal the bag, and place it inside the box. Place the box in a secure location away from direct sunlight.
However, if you have lost the box that came with the graphic card, no need to worry. You may still store your video card in any container that is the appropriate size for your GPU. Simply place it in an anti-static bag before placing it into the box.
How To Remove Graphics Card from PC: Conclusion
Everything comes to end, to give rise to better things. It is very important to give attention to every little detail while learning how to remove a graphics card from a PC, it matters the way you pull it out, or the way you handle it, the screwing and the unscrewing, all the cables and software uninstallation. All these steps should be followed in a religious manner while removing graphic cards.
While you’re replacing your video card, it’s critical to remember to preserve your previous GPU in good condition. And, when you’re pulling it out for washing, make sure it’s clean before reinstalling it on your PC.
Why does my laptop keep disconnecting from wifi: Quick Tip 2023
How to update BIOS without CPU

News and Rumors about Cyberpunk 2077 3rd Person Update
About Author
Jacob Smith
I am a copywriter specialized in Tech & electronic products. I enjoy analyzing articles focused on PC, Motherboards, Graphics cards, and much more. Previously, I was a contributor to Blogs Hour. In short, my greatest passion is to write about PC and how we can build pc in an easy way, but I have other hobbies such as cinema, geography, sports, and talking with my friends.